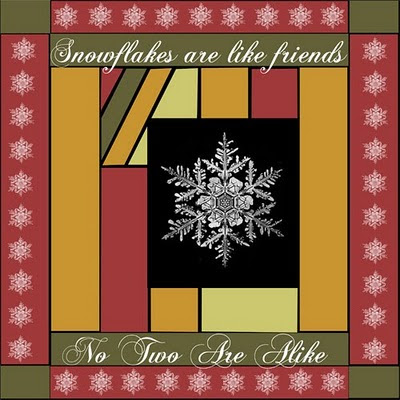
After thinking about how I could use Kara's fabulous "Montague Paper Pack" available HERE. I came up with this first design, using a free stained glass pattern I downloaded from the net. I figured out at least 3 different ways to create a stained glass pattern, some easier than others and I will share them here with you.
1. The first thing you should do, is google for a simple stained glass pattern that is made up of squares, rectangles or triangles. This should be a black & white pattern but if there is color, no problem since you will be filling these areas in with other color. Load the pattern you found on a good size background. I used a 12" x 12" and re-sized it later. Create a duplicate background underneath this one and make it black. Create another duplicate background on top, leave this one transparent. (You will be working on this layer & subsequent layers.)
2. Grab either the Marquee tool or the Lasso tool, whichever will work best for your pattern. Simply create a box in one of the sections of your pattern, >edit>fill with color>color>OK. You decide where to place the color and you can use your color tool box, or a color scheme of your own. I created a color palette from the beautiful colored papers that Kara used in her paper pack for this first project.
3. After each color selection, add a new layer and continue filling in the areas of your stained glass pattern being careful to allow some space around each of these areas for the black lines to show. These depict the lead lines of a real stained glass window. Once you have all of the areas filled in or re-colored to your liking, click off the pattern layer and click on the black background. Awesome huh? This was a practice project-now that you know how to do this, the next one should be much easier and you can play around with opacity, adding textures, etc.
No comments:
Post a Comment